Cisco VPN Client(Windows 、MAC OS 、Linux、Solaris)
※The portion which the following is redder than a management screen and it has enclosed is used for a setup. A change of a server is needed. Please check that "IPSec" will be chosen.
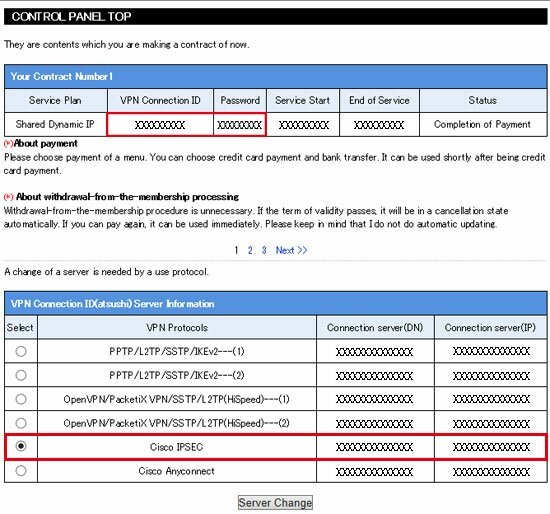
※There is no necessity that Mac OS uses this software. It is the specification which can be set up as standard.
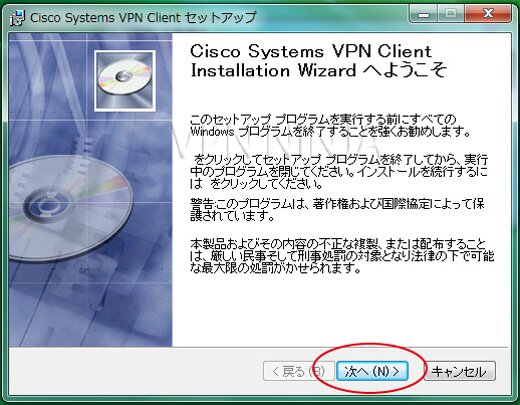
1,Please extract the downloaded file and double-click an "executable file."
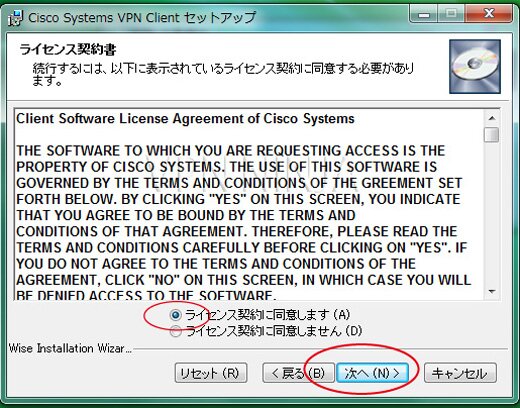
2,"It agrees". It chooses and clicks the "next."
3,Click the "next."
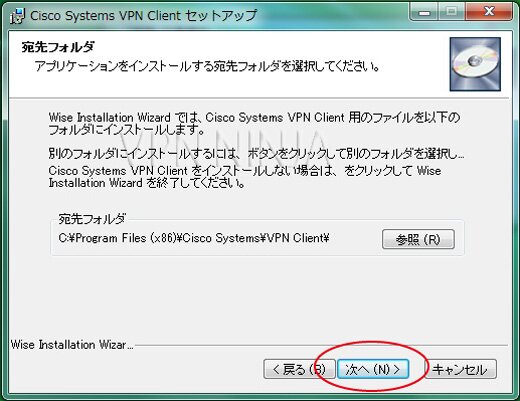
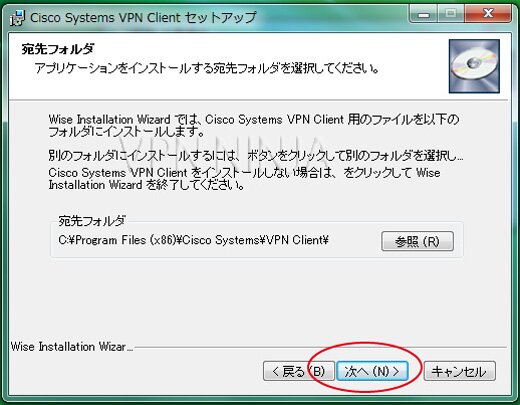
4,Click the "next."
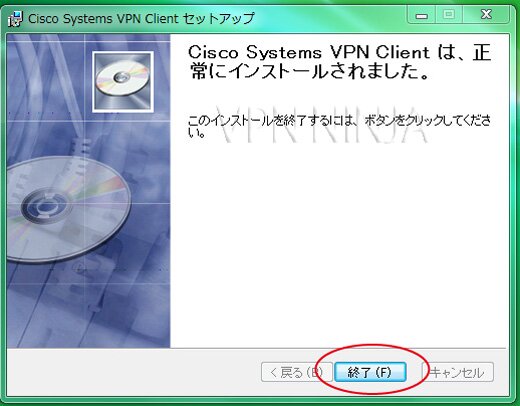
5,Click "an end."
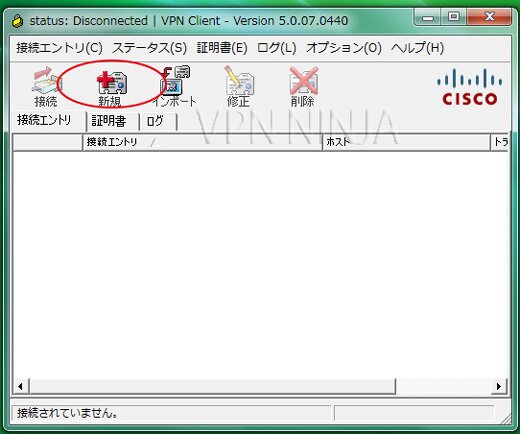
6,Since shortcut is not created, [VPN Client] is clicked from a program. Click "it is new."
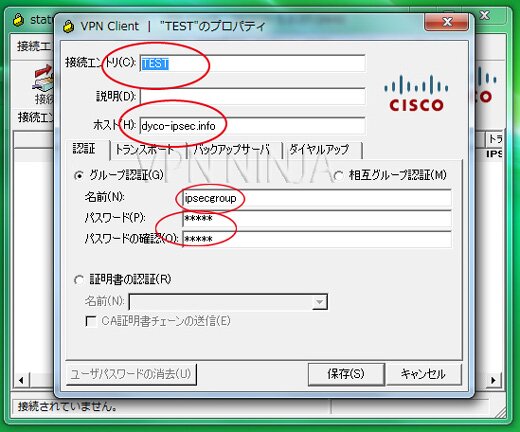
7,Arbitrary names are inputted into a "connection entry." Please input either the connection server (DN) of a management screen, or a connection server (IP) into a "host" (refer to this page upper part). Please input "ipsecgroup" into the "name" of group attestation, and input "ninja" into a "password." Click "preservation." Then, the created connection entry is clicked.
8,Please input VPN connection ID of a management screen into a user name, and enter the password of that ID into a password (refer to this page upper part).
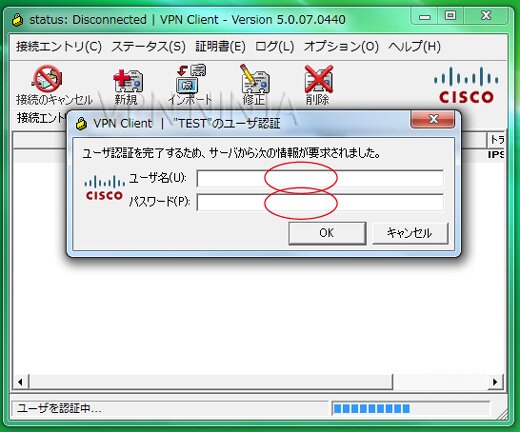
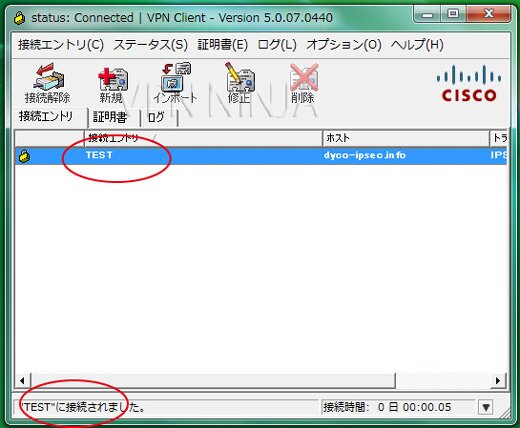
9,It will be a connection success if "It was connected" is displayed on the lower berth.
